Installation Precision with Torque Specifications
Ensuring your cycling performance is not stopped due to any mechanical inefficiencies includes the need for accurate application of the torque. The following section of the article provides information on the techniques that can help in mastering the precision of torque wrench application, which is critical for maximizing your bike’s efficiency.
Types of Torque Wrenches
It is a tool that can be used for applying a specific force to a nut, screw, or bolt. There are three types of torque wrenches: click, beam, and digital, with the former often being considered the best choice for bikes, as it is easy to use and accurate. Unless the wrench is set to the correct torque, you might overtighten it and damage a part or undetighten it and have it loosen up while on a ride.
Steps for How to Use a Torque Wrench
The process for using the tool is very simple, and the major aspects include:
Selection of the appropriate torque setting;
Attachment of the relevant socket to the wrench;
Placement of the socket on a nut or bolt to be tightened;
Application of steady force until the wrench clicks, signaling that the preset torque was reached.
As the last step, it is important to double-check the setting to avoid any mistakes.
Application: What It Is for When to Use a Torque Wrench
An example of when it should be used is when adjusting the seat height. To perform this process, a person should use the wrench for loosening the seat post clamp with the tool set at below-torque. You will then adjust your seat to fit your height, before using the wrench to secure it by tightening the clamp to the torque that is specified by the manufacturer. It will be enough to hold the seat post in place without worrying about cracking the carbon fiber or any other material being used. Some recommendations for maintaining this tool are always storing it at the lowest setting, ensuring it is calibrated, and not dropping it physically, as the last measure might affect calibration.
Regular Zero Resets for Consistent Accuracy
Consistent accuracy in power measurement on your bike can only be achieved through regular zero resets of your power meter. This recalibration process is indispensable for the precise derivation of power data and ensures that your power meter accurately reads zero when no force is applied. In doing so, all potential offsets that may impact your readings can be eliminated. Despite being relatively “simple”, zero resets are vital as they are essentially the only “maintenance” activity that is needed to get good data.

The Importance of Zero Resets
Zero resets are crucial in deriving reliable data. Power meters can be negatively impacted by what would otherwise be minor events in the life of a regular biker, such as temperature changes, light crashes, or differences in the settings of a bike between rides. A zero reset would ensure that these changes don’t affect the accuracy of your data.
How to Perform a Zero Reset
The resetting of zeroes is a relatively straightforward process. It consists of the following steps:
Ensure that the crank of your bicycle is in the correct vertical position and there is no pressure being placed on your pedals.
Link your bike with a power meter via your cycling computer or a special smartphone app you might have on your device.
Find the “zero offset” or “calibrate” option in your app and wait for the process to be completed. Do not move your bike during this period.
Look at your device and see if it states that your device was successfully calibrated.
Example in Practice: Pre-Race Calibration
Before an important race or training session, a zero reset can account for any potential changes that may have occurred during the transportation of your bike or the resulting differences in the weather at the location of your destination. This way, your performance from start to finish can be accurately analyzed.
How frequently should it be done
While it is recommended for a regular rider to reset their zeroes at least once a week, checking it should also occur whenever an event that might impact your bike occurs. For cyclists located in inconsistent climates and frequent competitions, more frequent checks may be needed.
Firmware Updates to Keep Meter Current
Apart from the physical aspects of your cycling power meter, its accuracy can be maintained by ensuring that its firmware stays up-to-date. Manufacturers frequently release firmware updates, which can add functionality, improve accuracy, and correct software bugs.
Why Firmware Updates are Important
Besides, significant improvements may have been made to how your power meter operates, and performance issues that prevented it from being precise have also been corrected. Perhaps, the firmware has had better calculations for power or has been adapted to new cycling technology that previously had not been included. Also, user reports may have pointed out inconsistencies while using the meter, these have been fixed.
Step-by-Step Process of Updating Firmware
Updating your power meter’s firmware may involve a number of simple actions:
Enter your app or display and see what version of the firmware is currently on your device.
Connect the power meter to the web via the app and Bluetooth or directly to your computer using a USB cable.
Download the new firmware from the manufacturer’s web site or your app.
Load the firmware update, keeping your device connected until the update is finished.
Be sure to restart the power meter to complete the installation.
Example of the Use of Update
A recent update to the power meter firmware could improve the signal stability, ensuring that the power meter is always connected to your cycling computer during the hardest of rides and does not drop the data, especially in rocky and electronically polluted areas, is critical for a person to retaining the updates.
Check for Updates
It makes sense to check for a firmware update once a month. You can also set the app to notify you about the new updates. Staying up-to-date with firmware is key since it will make your power meter work better and keep it current with any new hardware or software that has been added to the entire cycling ecosystem.
Battery Checks to Prevent Interruptions
Regular battery checks are the foundation of a reliable power meter for cycling. Checking the power meter battery verifies that your device will not fail you at training or a competition, which will result in lost data and, consecutively, lost efficiency of training.
The Importance of Checking
The role of the battery within your power meter is vital as it ensures the maximum level of efficiency and accuracy of your device. Furthermore, a non-working or lagging meter can potentially provide you with false data regarding your performance, which can mislead your training decisions.
How to Check and Replace
Check the battery level on your device screen or the mobile application it is connected to. Some power meters will inform you when the battery goes below a critical threshold.
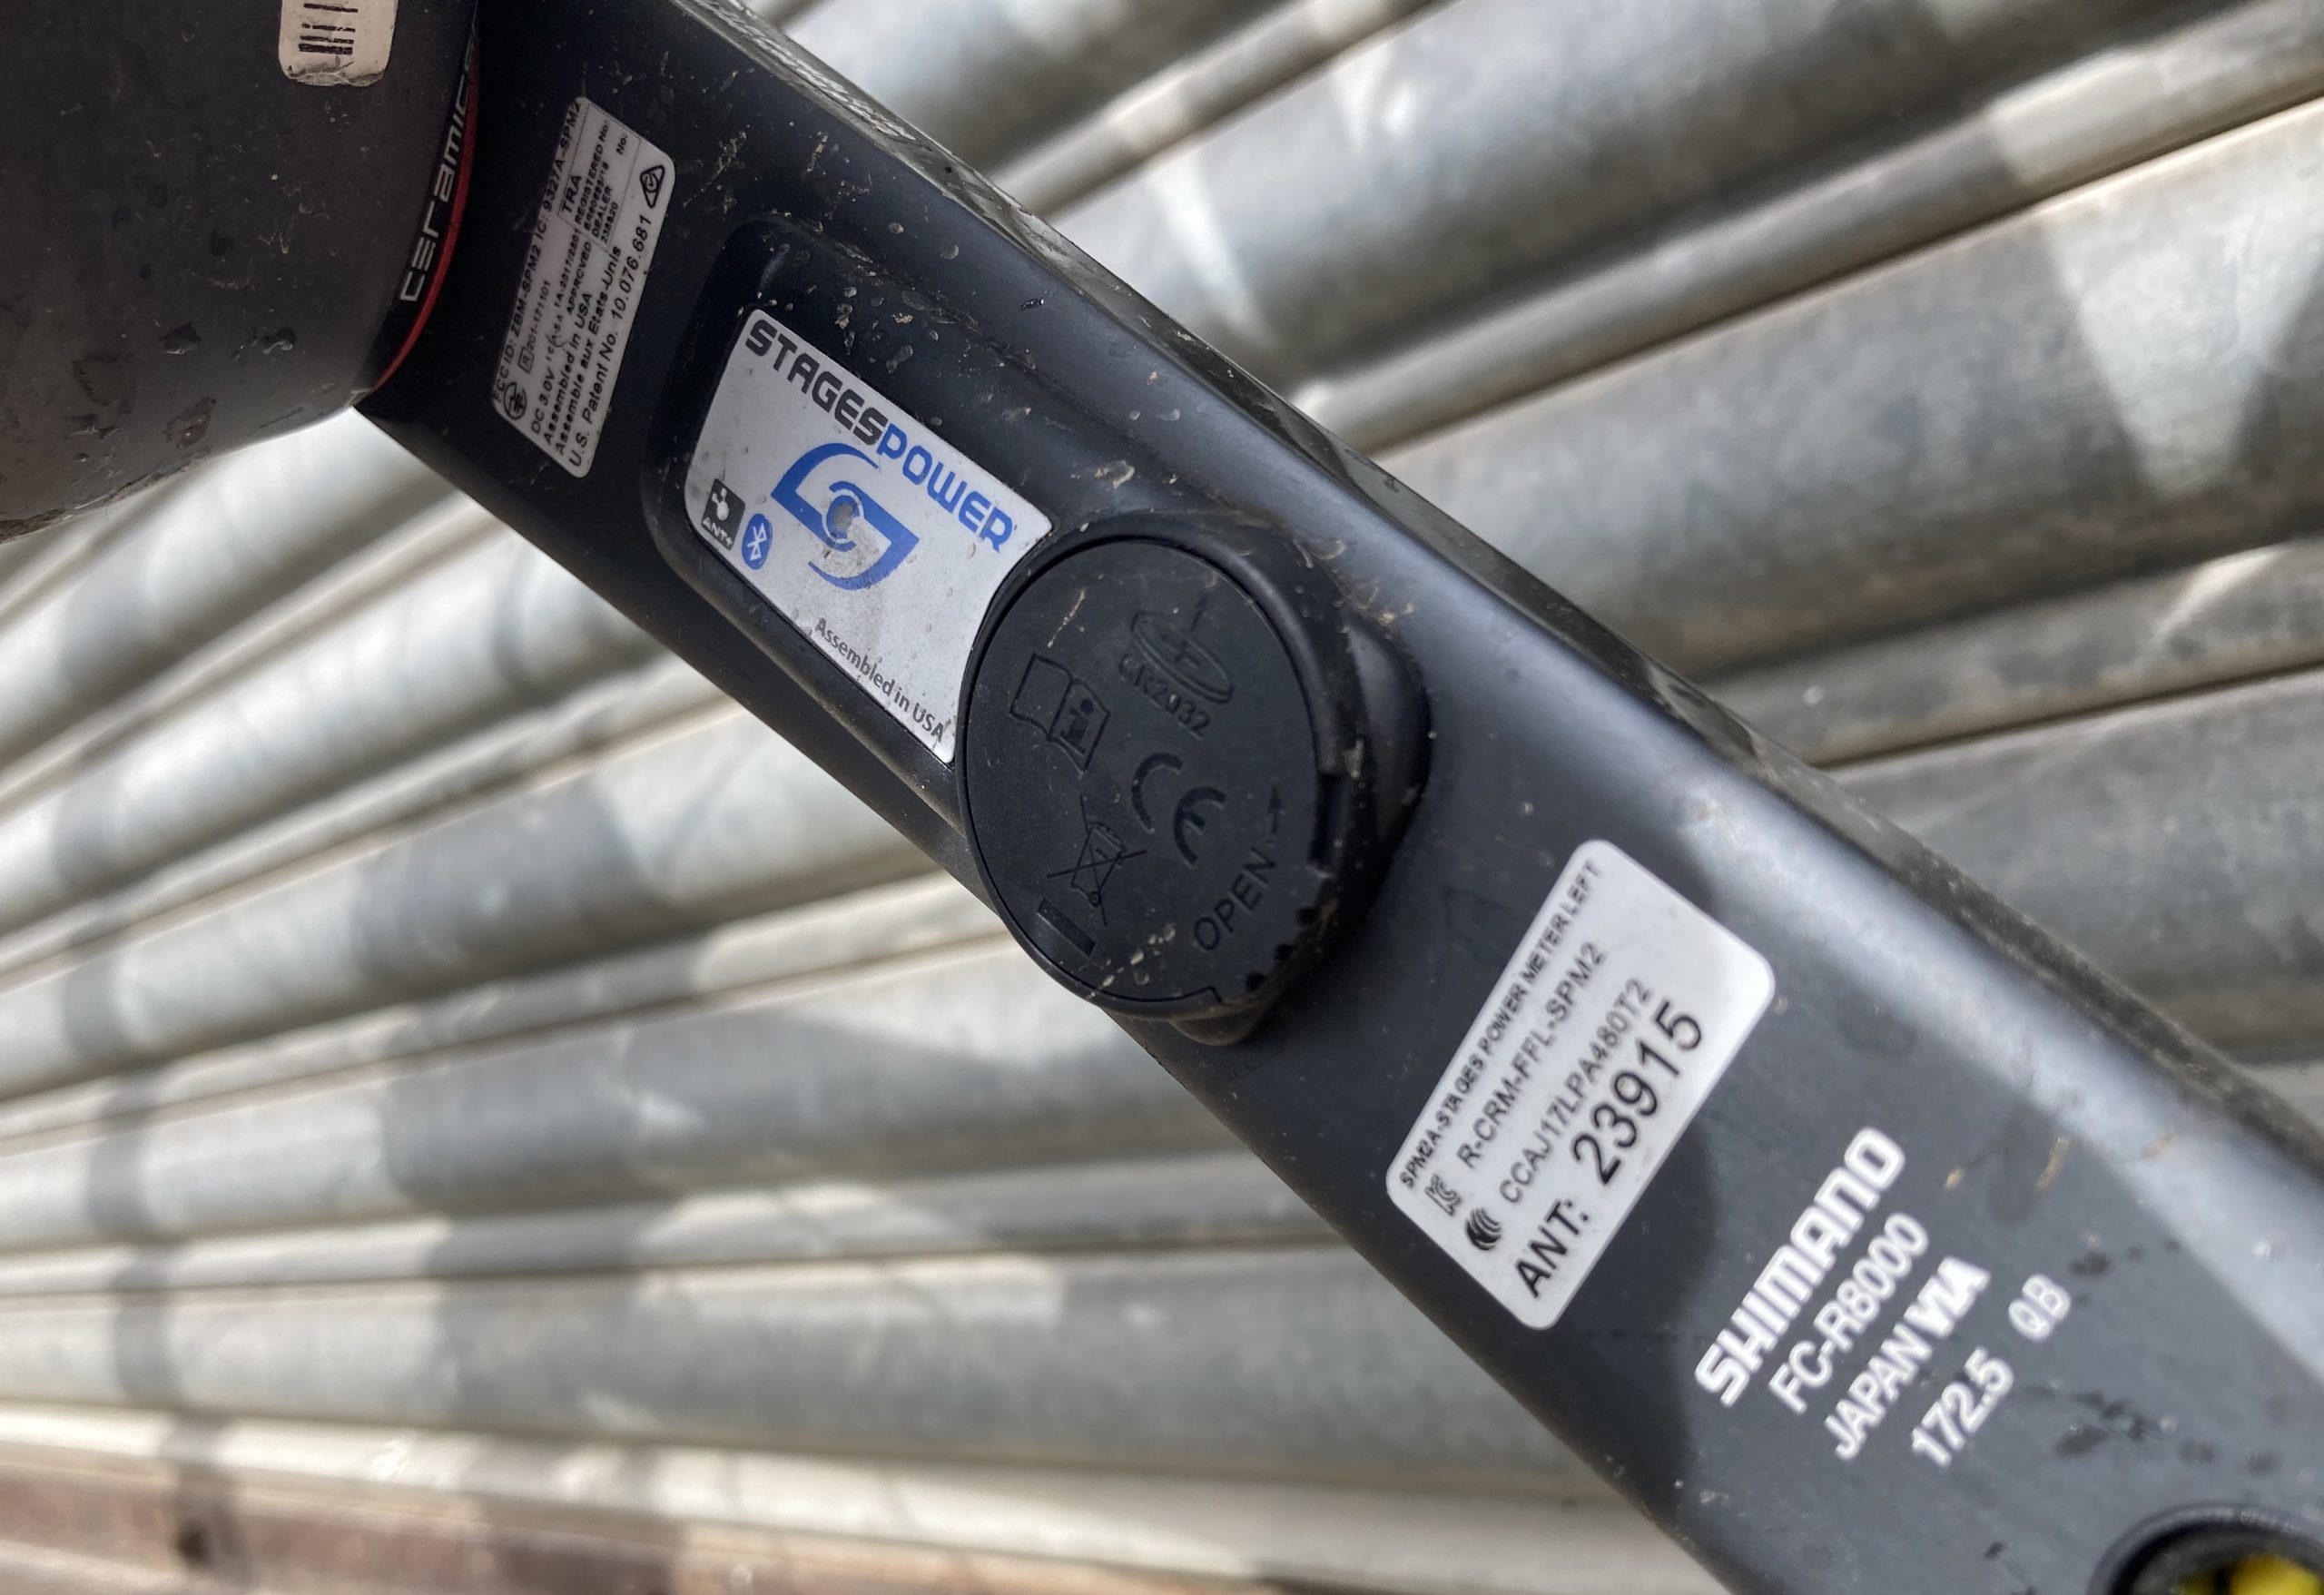
When the battery is low, find the place where the battery is. Usually, it is on the back of the power meter or in a slot on its side.
Open the compartment following the provided instructions with a correct tool, usually a tiny Phillips screwdriver or a quarter.
Take out the old battery and insert the new one, paying attention to the model of the battery and the direction of how it is inserted.
Close the compartment with the same tool you used in the opening, and reset the power meter if necessary.
Example: Preparation for a Long Ride
A cyclist should check their power meter battery for about two-three days before a planned long ride or a race. If the power meter fails during the ride, the lack of performance data can influence various decision-making processes and mitigation strategies
Having Spare Batteries
Having spare batteries in your gear for long or high-intensity rides and multi-day competitions is essential. It will allow you to quickly replace the battery if the device fails working without losing any data.

Optimizing Head Unit Settings for Detailed Data
In order to have detailed and meaningful power data, it is vital to optimize the settings on your cycling computer or head unit. When one’s head unit is displaying the metrics tailored to one’s training needs, one is more likely to benefit from the information provided by the data. To make sure that one is getting the most out of one’s unit, it is essential to select the metrics that coincide with one’s fitness level and goals. There are some must-have metrics every head unit should have:
Power output gives the information about one’s effort and endurance, and it is measured in watts.
Crude force, which is referred to as speed, and distance is a rudimentary metric for tracking on’s overall performance.
Cadence provides the information about the number of revolutions one’s leading leg is making throughout a minute to measure one’s efficiency and pace.
Custom data screens are prevalent on modern head units:
Put the metrics required at the top of the screen.
Employ different screen arrangements for different types of workouts, for example, for an interval workout and a flat ride.
For the interval setup, the most important metrics to display are the current power output, heart rate, and time elapsed. This setup will help one ensure that one keeps the right intensity for the interval and that one does not go hard.
Another thing that one has to be mindful of is to keep one’s unit updated for additional metrics and features the developer will send in the bug/feature tracker for one to benefit from. At the same time, it is not enough for a head unit to have numerous features. Besides, the unit should connect to other sensors such as power meter and heart rate:
Check sensor pairing settings to make sure all the sensors are connected to the device.
The sensors should also be updated to have the latest firmware and their batteries changed when required, although they may only need them once every year or so.


